How To Make A Greeting Card Display Stand
While I was preparing for my Pine Walk Exhibition which was held at the Bournemouth gardens; I had initially planned to put my greeting cards in a wicker basket but thought they would look better on a display stand.
But of course, after spending a few hundreds of pounds preparing for the exhibition I was not keen on spending more on a greeting card display stand; thus I came up with the plan to make mine.


It was a bit difficult from the onset because I did not have a proper stand physically in front of me to refer to. All I had was a sketch of how I wanted it to look and how I wanted it to be.
Always keen on taking up a challenge I went about making my own greeting card display stand.
I will show you how I made the stand and hopefully it would encourage you to take up the challenge and make one for yourself when you need one.
MATERIALS NEEDED:
You would need the following to make the Greeting Card Display Stand.
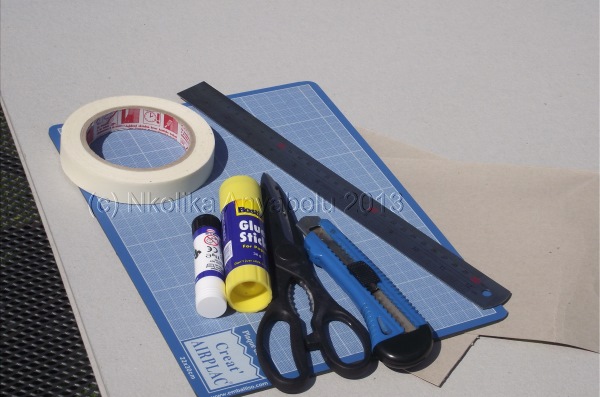
A sheet of hardboard
An old Cereal box (I used my kids empty Choco pops box)
An old cardboard box with its flaps in place
Tape (brown or masking tape)
A ruler
A pair of scissors
A cutting knife
A self-healing cutting mat
Glue sticks
An old greeting card
Lots of patience
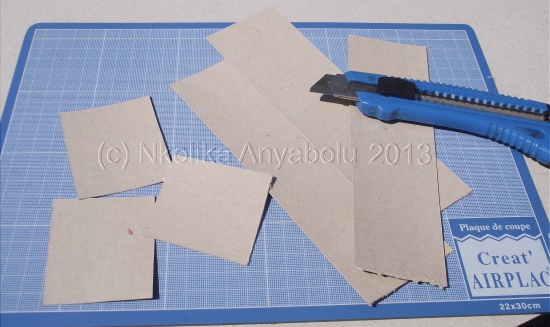
STEP 1:
Cut up the cereal box into smaller pieces. You would need about 20 pieces all of different sizes. I found it was better to measure and cut as I went along.
Fold them in the middle like in the picture below because they will be the ''hinges'' that would hold the stand together.
Think of them as the "screws" or "bolts" that would hold our structure together.
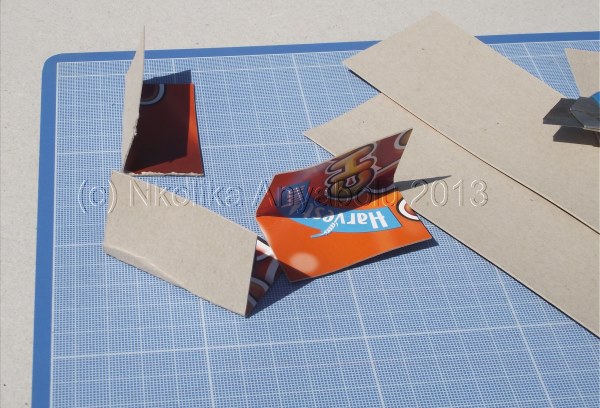
STEP 2:
Referring to my sketch above, we will need 3 rows.
To do this I have folded the smaller flaps from the cardboard box in the middle.
You can choose to use the longer/bigger flaps; but because I am making a small display stand I have chosen to use the smaller flaps.

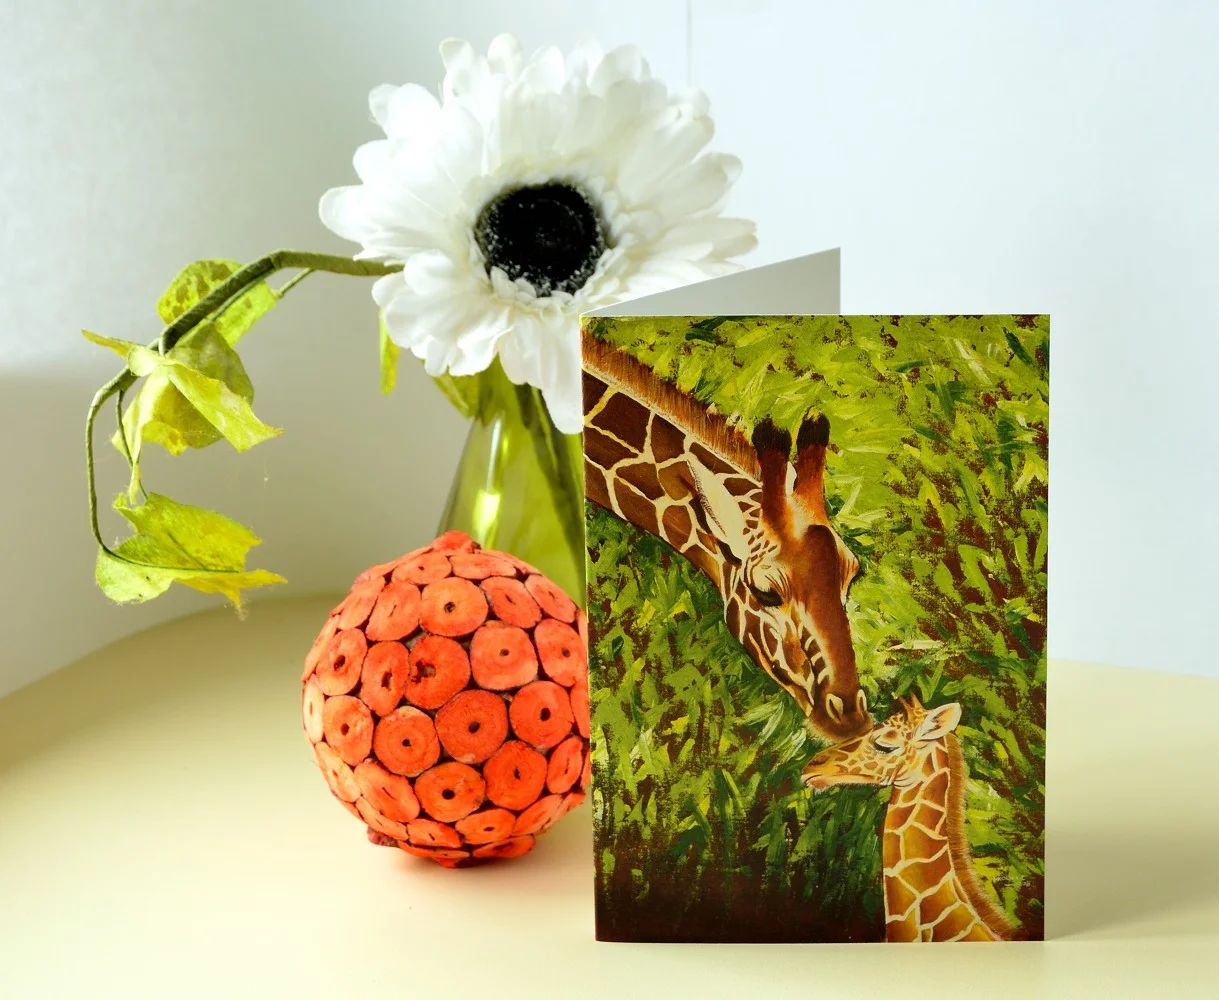
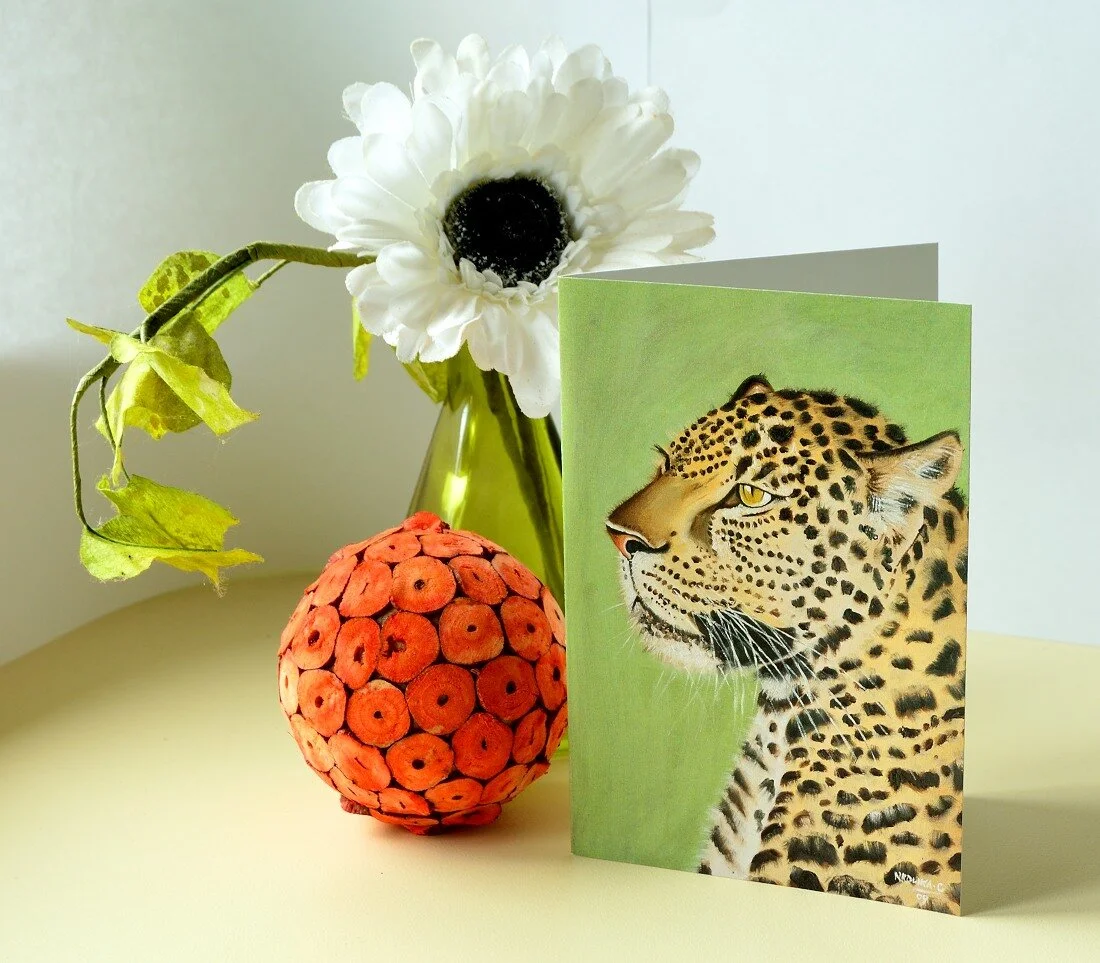
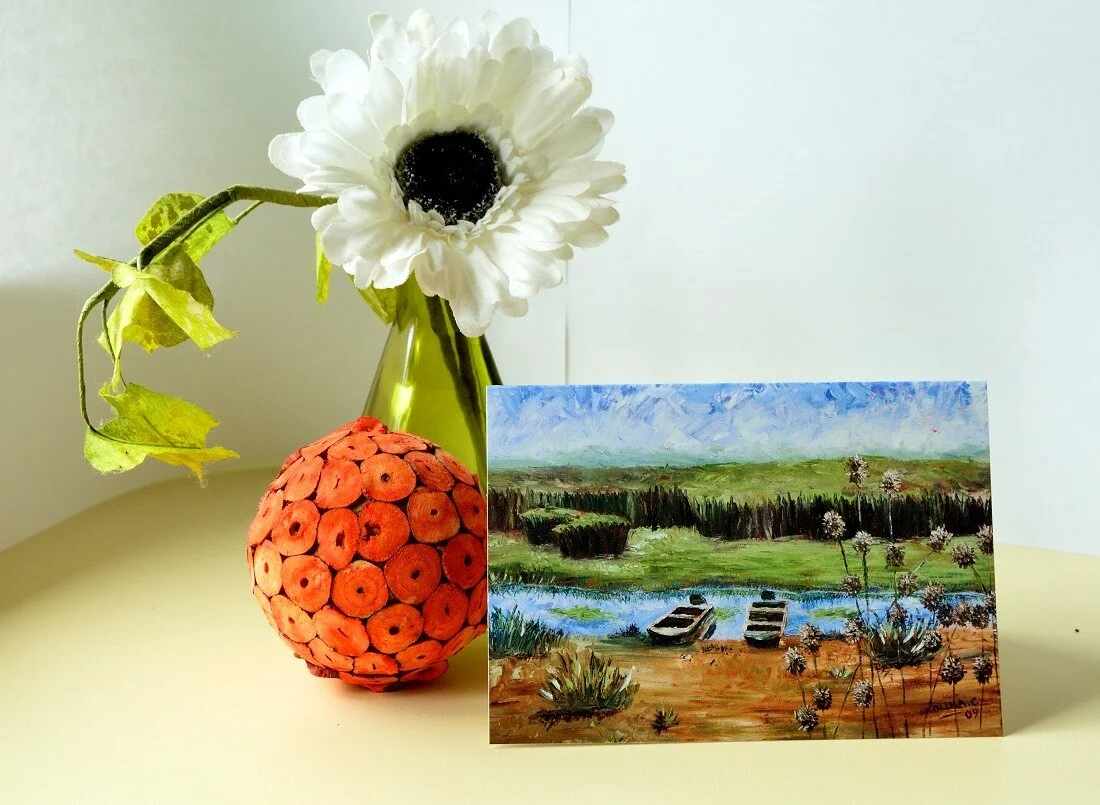
I have placed an old card (one of my daughter's old birthday cards) in the fold to see how it would stand.
STEP 3:
Once you are happy with the folded cardboard box flaps go ahead and apply glue to the unprinted side of the cereal box pieces.
Then glue it onto the folded flap as shown below.

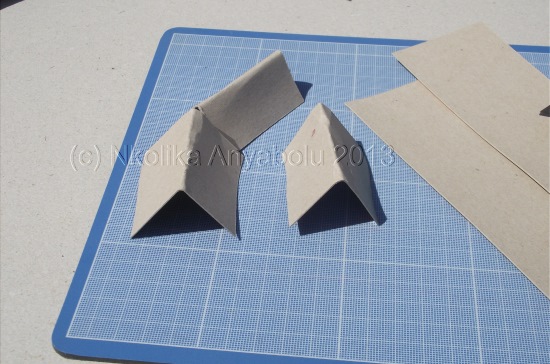
STEP 4:
You should apply at least 2 of the cereal box 'hinges' on one side of each flap. Once you are done it should look like the one I did in the image below:

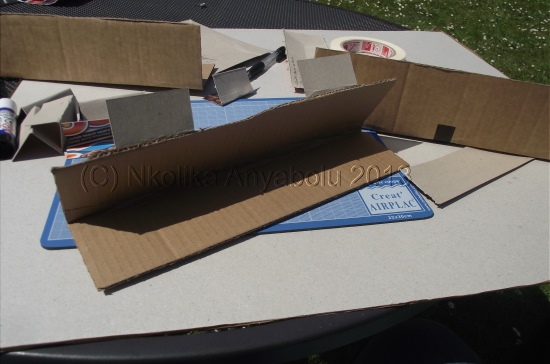
STEP 5:
It is important to provide extra reinforcement for the rows to prevent collapse when a lot of cards are put on the stand. To this, apply some tape firmly across the rows and over the hinges below.


STEP 6:
Here I have literally measured out the length of the hardboard that would be high enough to support the cards.
As I was not working without any measurements I was working with my gut instincts and was not too bothered about specifics.
So long as it could stand and look stable...I was happy.

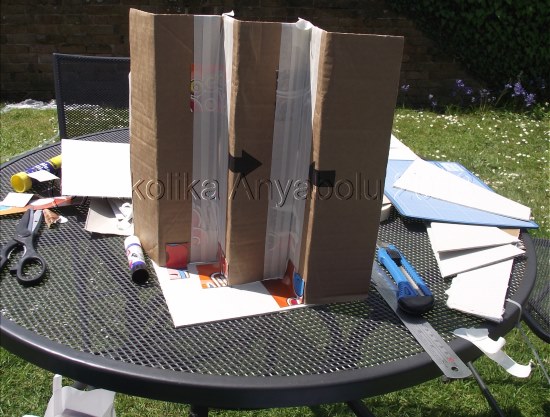
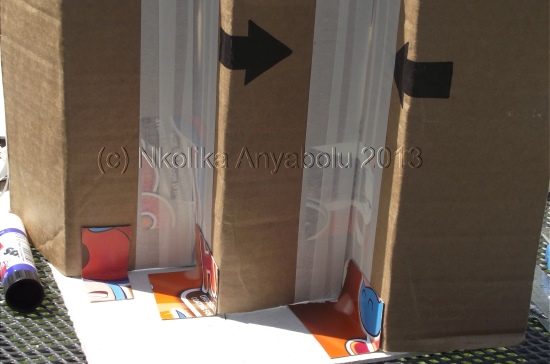
STEP 7:
I have measured out another piece of hardboard to extend from the base of the back to the tip of the first row.
I held the pieces together with masking tape in order to have a better idea of what was working and what wasn't.
It looks depressingly unsteady now but with a lot of patience (and faith), it would be more sturdy once the other supporting sides are added.

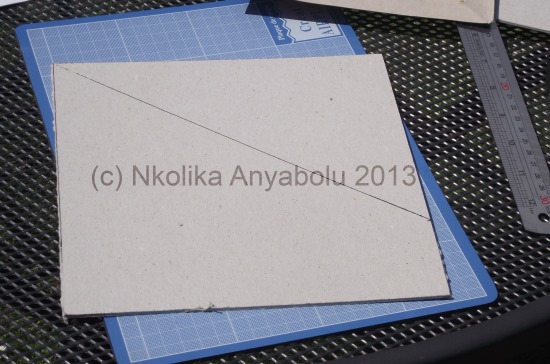
STEP 8:
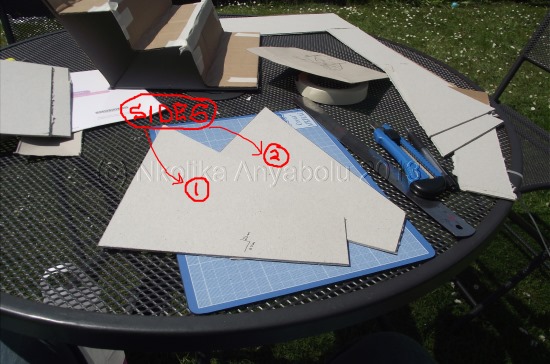
Now for the sides; I basically laid the whole structure in step 6 on its side on a piece of hardboard and drew a perpendicular line running from the tip of the last row to the edge of my lower row.
I then cut them out and put them aside.
STEP 9:
For this step, I have used some of the cereal box hinges I made earlier to glue the rows to the sidewall I cut out in step 7. Again avoiding the printed side of the cereal box as it is very slippery and would not hold well.
You would notice the hinges are on the back i:e below the rows. This is so that all the messy work stays hidden out of sight when the final work is being used.
These are the foundation layers...so do not worry about how it is looking. Remember the aim is to make the stand sturdy.
STEP 10:
Here I have applied the 2 sidewalls and placed my old sample card on the stand to assess how it is panning out so far. Well, so far so good.

Here is a shot of the back and bottom with all the tape I have used to give further reinforcement.
Remember this is the foundation layer which would be covered up later.

STEP 11:
I have now put a piece of hardboard in front to serve as the front of the stand. I have also used some of the cereal box hinges from step 1 to hold the piece of hardboard to the whole structure.
Now the stand is really taking shape.

You would have noticed that the back I had on in step 10 is absent.
This is because it would be the very last part to be attached because all the work will be taking place under the structure (the foundation).
Thus covering it up would be a hindrance as you would not be able to get to the underside.

At every step, if you are not happy with the way the stand is coming on you can always go back and make adjustments and apply further reinforcements.
STEP 12:
Once you are happy with the way it is all looking go ahead and put the back with some glue in cereal box hinges.

Below is a shot of the base. You can see all the reinforcements that have been done there. I used more brown tape to provide extra support.

STEP 13:
Once you are happy the rows are stable enough and are not shaky, the floor can then go in.
I have used hardboard cut to size and put it in place with brown tape.
I have used more brown tape at the corners and in front to ensure the whole structure is firm.

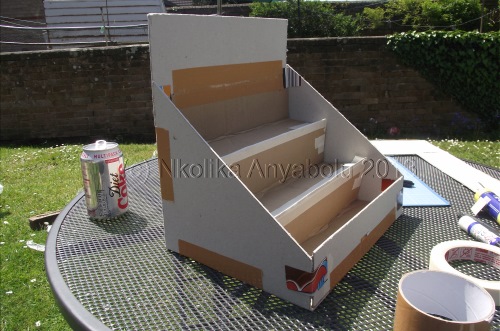
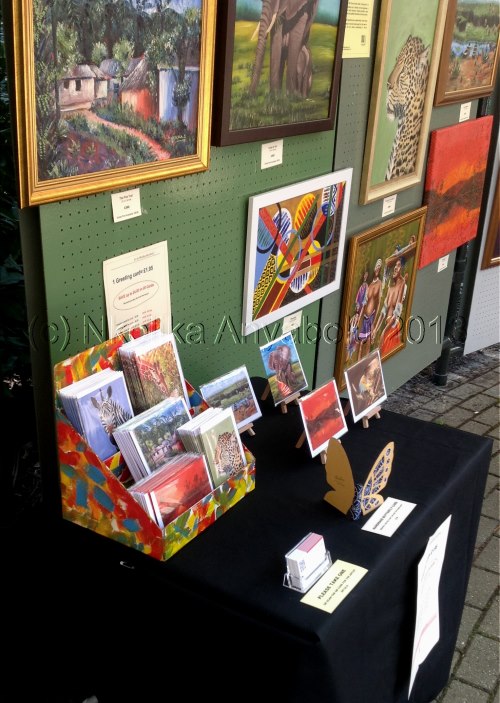
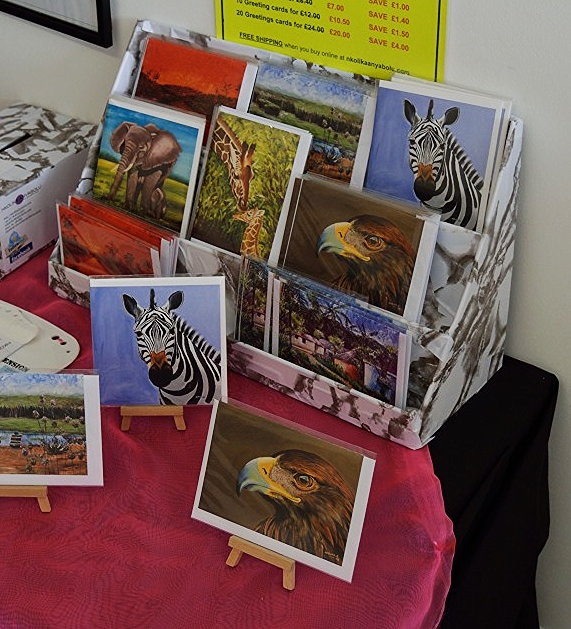
Below is the finished greeting card stand my table at the Pine Walk Art Exhibition.
I finished it up with a coat of Acrylic Gesso primer and strokes of different colours.
You can do whatever you want to yours. It is best to personalize it. That makes it unique and different.

I hope you found this step by step guide on how to make a greeting card display stand useful.
It is not only a quick way of making a display stand when preparing for art fairs, it is far more importantly a lot cheaper. If well kept it would last a long time. Mine is still waxing strong.
What do you think? I would appreciate your comments and pictures of your effort at making one.
I have made 2 more Greeting Card Display Stands using the same technique as outlined above but with differrent materials.

Spruce up your stall/table at Craft Fairs with this easy to make 4 Tier wooden effect Display Stand
Or you could have a go at making this patterned 3 Tier Greeting Card Display Stand similar to the one I used to display my Greeting Cards at Pop Up Poole.
"Originally published in 2013 but has been updated and tweeked to be more current"
NB: A couple of links in this post are affiliate links. This means that if you choose to purchase through the link I would receive a small commission. I only link products I really believe in.